Go Live Tab
Use the Go Live tab to configure teams, video settings, and streaming destination before entering the Broadcaster Camera View.
Before You Start
- Add at least one Livestream destination in the Livestreams Tab.
- Create your Home and Away teams in the Teams Tab.
- Add any custom messages or Celly Stickers in the Messages Tab.
Starting with a Livestream Endpoint
- Select the sport.
- Pick Home and Away teams.
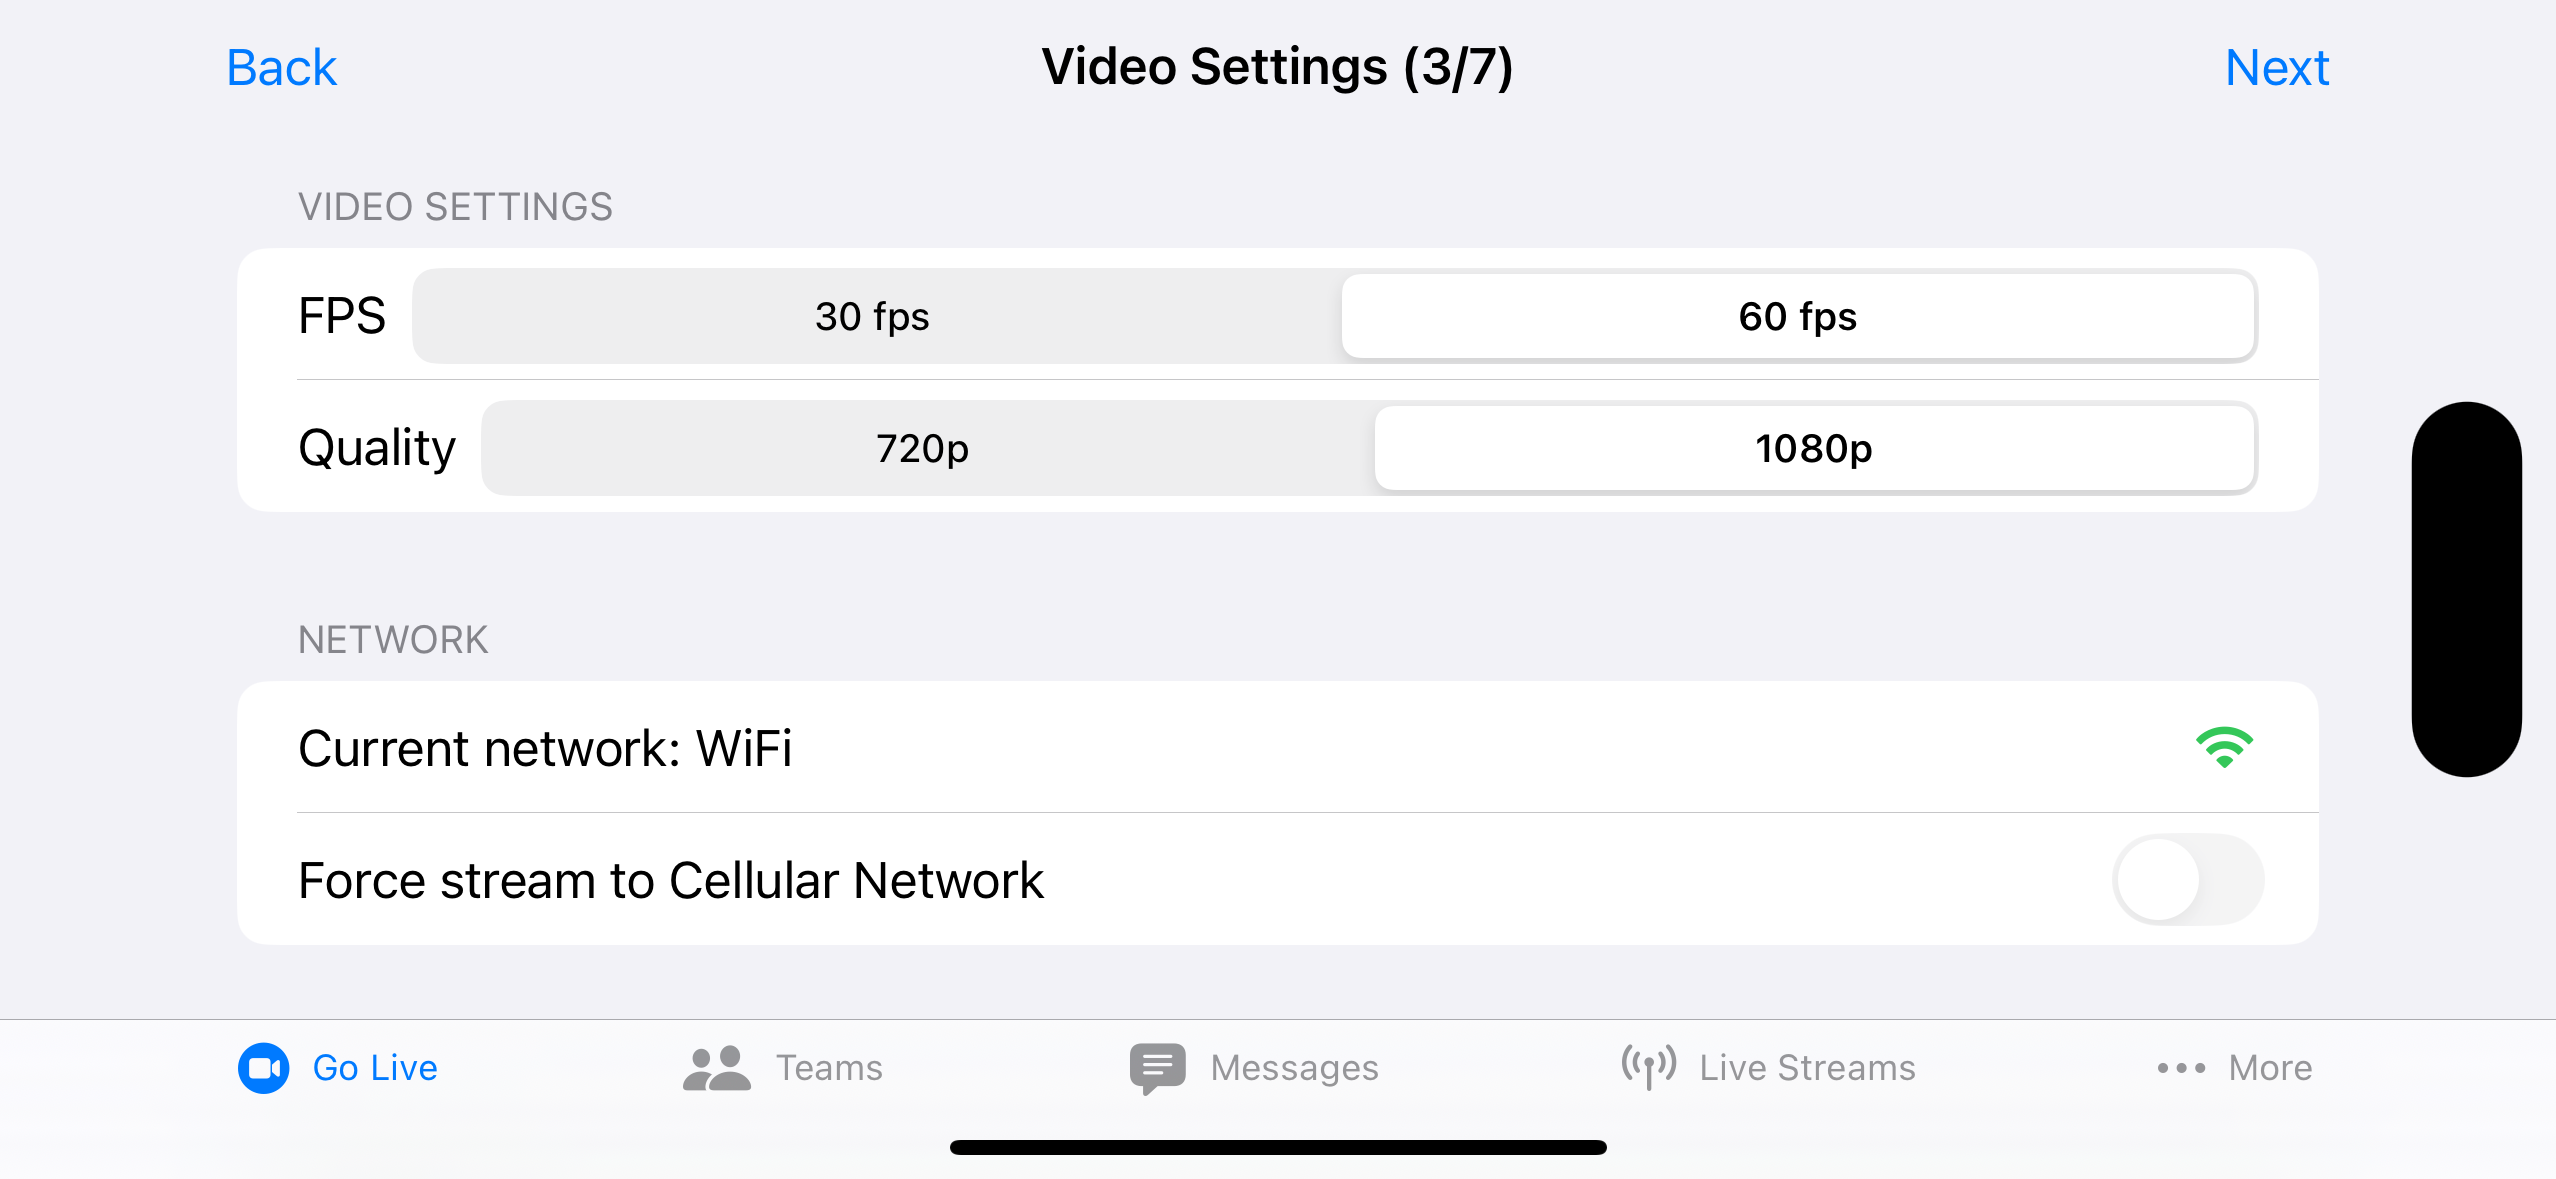
- Select FPS and Quality. Optionally tap Speed Test to check your connection and get a recommendation.
- Choose a saved endpoint.
- Review device name, Remote Control, and Remote Cameras settings.
- Review the controls and scorebug settings, such as: Show Clock, Penalties, Quick Control Bar, Show Shots on Goal, and Brand.
-
Review the summary, including destination, video settings, and network.
A landscape indicator on this step will show if the device is in landscape orientation.
- Tap Go Live to open the Broadcaster Camera View.
- Tap Play/Pause on the control bar to start the broadcast in Standby. Standby sends the intermission screen with muted audio.
- Tap Play to unmute and broadcast the live camera feed to viewers.
Starting with a Connected Account
- Select the sport.
- Pick Home and Away teams.
- Select FPS and Quality. Optionally tap Speed Test to check your connection and get a recommendation.
- Choose a signed-in account (YouTube or Twitch).
- For YouTube, fill in title, description, and privacy.
- Review device name, Remote Control, and Remote Cameras settings.
- Review the controls and scorebug settings, such as: Show Clock, Penalties, Quick Control Bar, Show Shots on Goal, and Brand.
-
Review the summary, including destination, video settings, and network.
A landscape indicator on this step will show if the device is in landscape orientation.
- Tap Go Live to open the Broadcaster Camera View.
- Tap Play/Pause on the control bar to start the broadcast in Standby. Standby sends the intermission screen with muted audio.
- Tap Play to unmute and broadcast the live camera feed to viewers.
Starting with Local Recording Only
- Select the sport.
- Pick Home and Away teams.
- Select FPS and Quality. Optionally tap Speed Test to check your connection and get a recommendation.
- Choose Record Locally Only.
- Review device name, Remote Control, and Remote Cameras settings.
- Review the controls and scorebug settings, such as: Show Clock, Penalties, Quick Control Bar, Show Shots on Goal, and Brand.
-
Review the summary, including video settings.
A landscape indicator appears on this step if the device is in landscape orientation.
- Tap Start Recording to open the Broadcaster Camera View.
- Tap Play/Pause on the control bar to start recording in Standby.
- Tap Play to record the live camera feed.
During the Broadcast
- Update scores and period/time from the Scoreboard Panel and Clock Panel.
- Show custom graphics via the Messages Panel or Events Panel.
- Use the Control Bar to mute, pause, or stop.
- Adjust framing with the Zoom slider; reset with the magnifying glass icon.
- Mark and play back Instant Replay clips.
- Tap Pause to show the intermission screen and mute audio without ending the stream.
Connection Lost
If the connection to the streaming server is lost mid-broadcast, a dialog appears with three options:
- Reconnect: Attempt to reconnect to the server and return to Standby.
- Start Recording: Switch to local recording only and continue the session without a network connection.
- Close: End the session and close the Broadcaster Camera View.
Recording Error
If a recording error occurs during a session, a dialog appears. The options depend on whether the error may be recoverable:
- Restart Recording: Start a new recording file and continue. Appears when the error may be transient. If the restart also fails, only the options below are shown.
- Continue Streaming Only: Stop recording and continue streaming without saving locally. Only available when streaming.
- Close: End the session and close the Broadcaster Camera View.
Finish Up
- Tap Stop to end the broadcast.
- Tap Close to leave the Broadcaster Camera View.